Easy Drawing For Kids of all ages will have a great time drawing simple cars. A car is the most frequent thing that kids see daily daily. In addition, both boys and girls like playing with play automobiles. Easy Drawing For Kids variety of movies and TV series aimed at younger audiences include automobiles. It makes sense that aspiring painters enjoy drawing cars.
Step By Step Car Drawing:
1:
- At the sheet’s base, draw a horizontal line. The base is this. Draw two ovals for the wheels on either end of the line spaced 3 to 4 centimeters away.
- Draw a line that extends beyond the two wheels for the overhangs. Draw a rectangle for the body using that line.
- Draw the cabin on the body; it should be moderately high and gently curved. Use a pencil and an eraser to sketch the car’s hood and trunk in a slight curve until you are satisfied. The car’s appealing features are its curves.
2:
- Draw lines to extend the image as displayed.
- The windscreen, window, front bumper, door, and rear wind are all made by joining the pipes.
- Then, include the finer details. Create the wheel outline and add the wheel rims, door handle, license plate, side-view mirror, headlights, indicators, and petrol tank (lid).
3:
- To finish the automobile, add color.
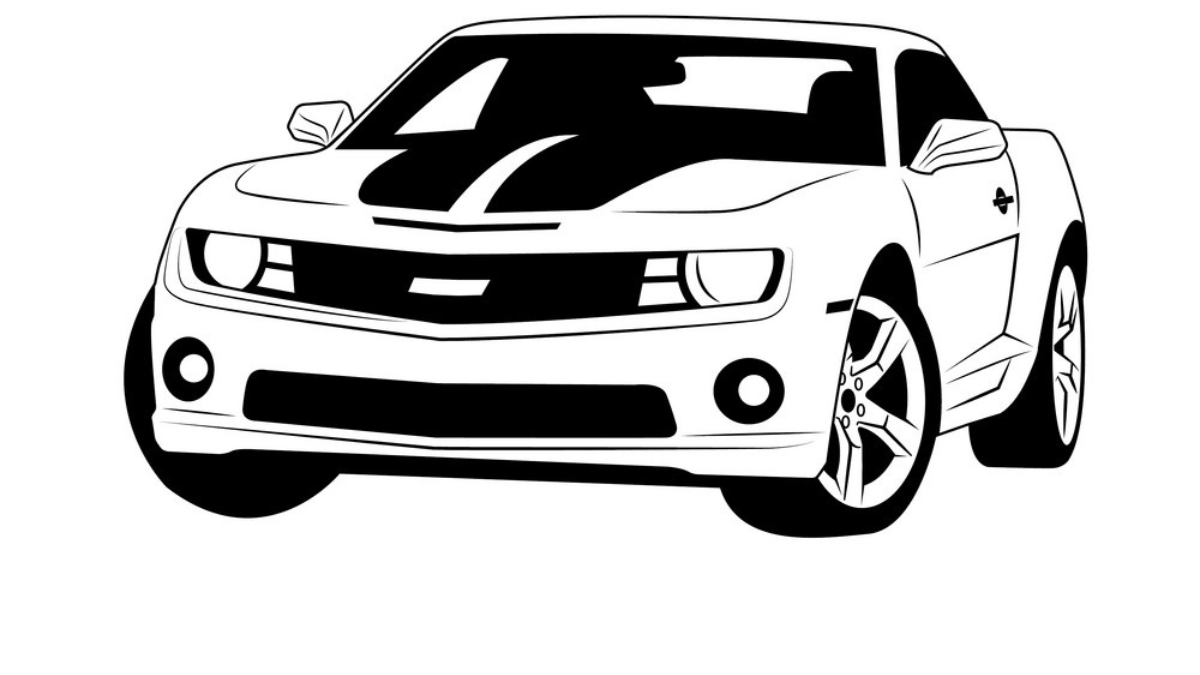
- A drawing tutorial for a muscle car
- A muscle car is high-performance with a strong body and an adequate engine. The first-generation Dodge Challenger, a well-known muscle automobile produced in the late 1950s, will be drawn in this tutorial.
You will require the following:
- A4 paper or a sketchbook, a pencil, eraser, sharpening, a scale ruler, and a stencil with various forms.
How To:
1:
- A horizontal line indicates the base. Muscle cars feature a longer bonnet, trunk, and broader wheelbase. Draw two circles on the base, one in the center and the other at the right end of the baseline.
2:
- It is required that the wheels be the same size. To make sure of that, use a stencil.
- Draw a line linking the wheels, but not through them, and extend it to the sides for the front and rear overhangs. This is the base of the automobile. By sketching a semicircle and a short, curved line to its left, connecting the bottom of the hood and the ground, you may finish the wheels and add another wheel in the front.
3:
- Drawing the body is the following stage. Muscle cars typically have a slender, slightly angular design.
- Sketch the car’s lengthy overhangs first, then draw the waistline that connects them, which is a little higher above the ground (baseline). Keep in mind that the lines are not entirely joined at the conclusion.
4:
- Draw the windows, doors, and a line to represent the trunk in the third stage.
- Remember that the line that runs through the door does not continue to the end.
- On the front of the car, draw a rectangular grill next. To build the windscreen frame, draw a line from the window to the left at the top. To finish the hood, draw a line parallel to this one. Two perpendicular lines show the hood’s curves and bumps.
5:
- Include lighting in the grill’s four corners and two fog lights beneath the grill. A bumper is fastened to the grill at the bottom. Add indicators in the manner shown.
- Subtle additions like door handles and side-view mirrors will finish the car.
I am a professional writer and blogger. I’m researching and writing about innovation, Entertainment, technology, business, and the latest digital marketing trends click here to go website. Follow my blog here & Visit my website here.